It’s beginning to look at a lot like Christmas around here at Hazel by Design!
Hazel Home is going all out this year and I couldn’t be happier about it! I love this time of year and I absolutely love when my house is decorated for the holidays. There is something about the little white lights, bows, and greenery that makes me smile and I swear my house even feels warmer and cozier because of it. This year I wanted to break down a few simple tricks and ideas for holiday decorating that anyone can do and I hope it will inspire you to change it up and go a little bigger this year.
First things first…the TREE… Whether you bought a live tree or an artificial one, the first item to check off the list are the LIGHTS. If you have an artificial tree, there is a high likelihood your tree is pre-lit (and that is great!! Check that box and move on!). Those of you who don’t have a pre-lit tree or have bought a real tree (or heaven forbid…your pre-lit tree has a section of lights out…yes, it happens… personal experience…haha) – don’t fret! With a little extra love, you can have that tree looking like a professional tackled it. The key to the lights are to start at the trunk of the tree and wrap lights on EACH BRANCH (rather than wrapping around in a circle all the way up the tree). You will begin by plugging the string of lights in (to make sure they all work!) and, starting at the trunk of the tree, begin wrapping the lights up one side of the branch and down the other. 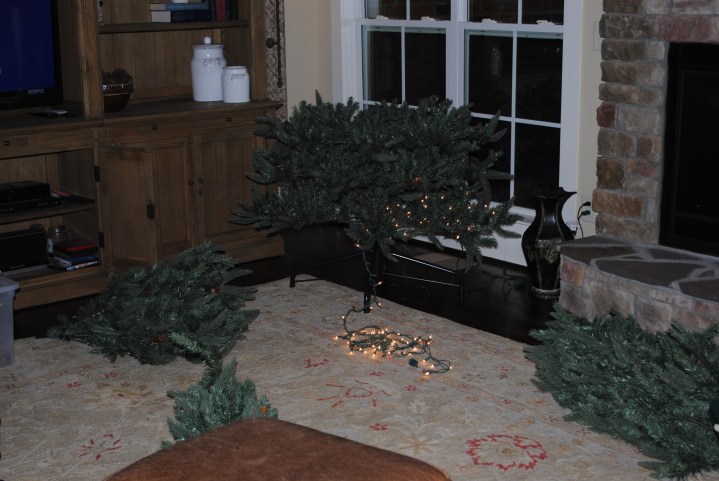
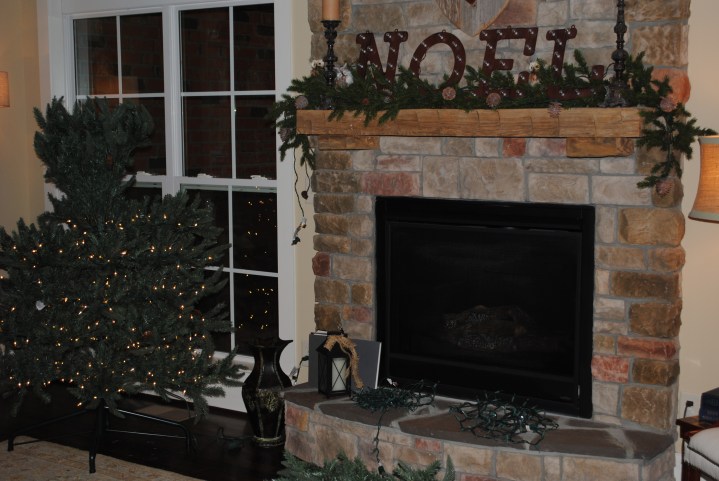 By wrapping the lights each branch, you create the extra sparkle that will make your tree look more like Rockefeller Center (and less like Charlie Brown’s Christmas). Tedious? Yes…. Worth it? Absolutely.
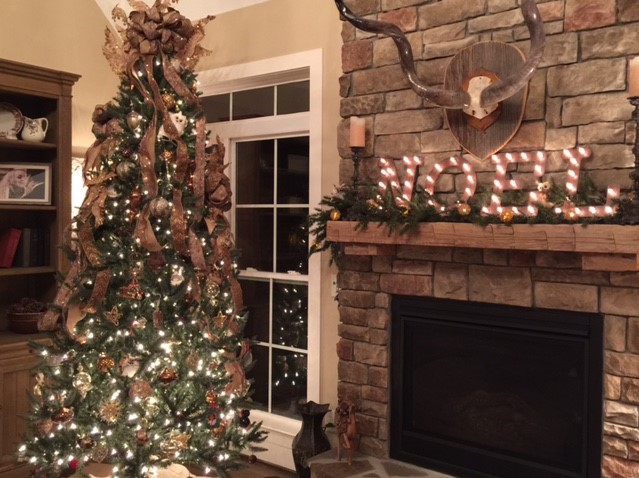
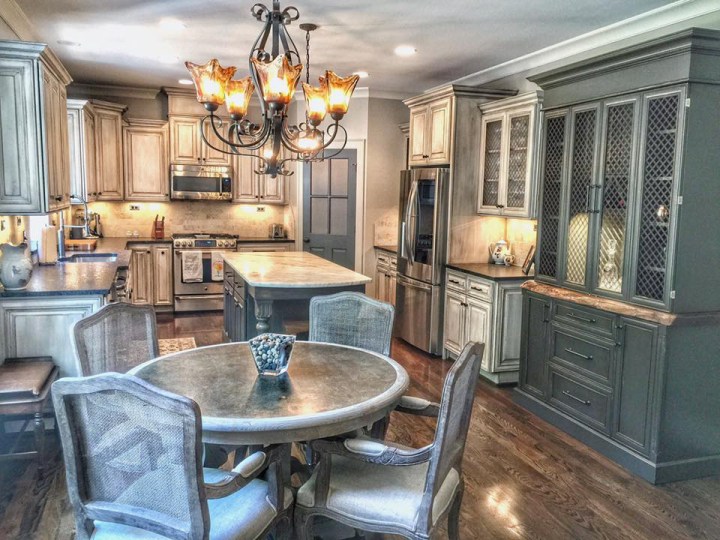
After the lights are complete, you are halfway home and it is now time for ornaments! Before I begin however, I consider what overall color scheme I want to use. Using two to three complimenting colors across all your holiday decorations makes it simple and keeps the look pulled together and sophisticated. For example, I like for the main tree in my house to connect with the décor of the rest of the living space it sits in. In this case, my house has a rustic feel and I use warmer, neutrals across all of my decor (see below). 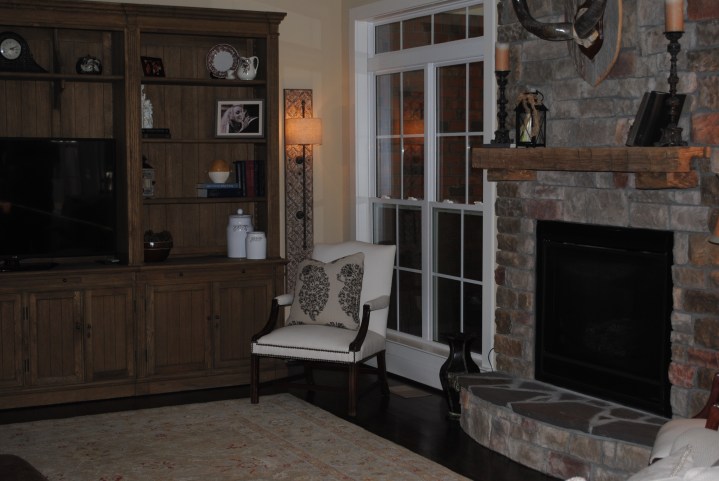
So, I chose to have my tree reflect that. This does NOT mean you can’t use red if you have a neutral living room, nor does it mean I disregard all the fun, sentimental ornaments my daughters have made or have received because they don’t match. BUT, it does mean being more thoughtful about colors, how those sentimental items are spaced out, and what else fills in the gaps to keep the feel cohesive. It also does not mean all the ornaments must be expensive or fragile. I love to mix nicer ornaments with ones purchased in bulk (ones that fall in the same color palette as my theme) at a much more affordable price. Another trick is to spread the nicest ornaments out across the portions of the tree where they will have the most impact (think – where will they be seen?) and fill in with less expensive ones and the sentimental ornaments. Decorate the entire tree…even that side that will face the wall that you think no one will see… BUT, don’t hang your best ornaments in spots where no one can enjoy them. I also like to really fill in the tree by placing some of the less expensive ornaments at the base of some of the branches (yes…by the trunk, and yes…even if you have another ornament hanging on the exterior portion of that same branch…). This really makes the tree appear “full” and will go a long way in making it sparkle and shine as the lights reflect off each ornament, even from the trunk of the tree.
The next step is to add ribbon and bows to fill in any remaining gaps. This trick is one the pros use and it’s an easy way to add a little glam and fill in any remaining gaps you have on the tree. When my husband and I were first married, we didn’t have a lot of ornaments to put on the tree. (It honestly was not something we thought about until Christmas rolled around and we realized we had zero items to decorate our own tree with…). Ribbon/bows can substitute for ornaments and make your tree look like a professional decorated it even if you have very few ornaments (our second tree on our porch is only done with lights and ribbons actually). Currently on the tree in our living room, I have a very large bow at the top with streamers coming down vertically on each side.  Why vertically, you ask? For a couple of reasons. First, it elongates the tree and gives it the sense that it is taller than it may be (and who doesn’t want a bigger/taller tree?). I liken it to wearing stripes… wearing horizontal stripes can make you look wider across, whereas vertical stripes can elongate your body lines. This especially makes a difference if your tree is in a space that has exceptionally tall ceilings. Second, by streaming vertically, the ribbon is highlighted and allows it to really get into those gaps where there may or may not be ornaments. The bow on the top of my tree currently consists of three different ribbons with complementing color palettes and different textures.
  I also love to place smaller bows down lower and have streamers wrap down around the lower parts of my tree as well. A little ribbon goes a very long way in filling in spaces that need more and giving it that “completed” look.
A couple of final notes on the tree… First and most importantly, don’t stress! There is enough of that this time of year anyway without adding to it. It’s a Christmas tree. Not brain surgery. Have fun with it! Make sure it reflects yours and your family’s personality. Another fun tip for families with children is to add another smaller tree to the house somewhere where the kids frequent and make this THEIR tree. This is where they can put any decorations they deem to be suitable and fun (think crazy big colored, blinking lights, popcorn garland, crazy ornaments, or any general ornaments or decorations you didn’t use on the main tree because of color, space, etc). It also doesn’t have to be a separate Christmas tree…. This year, rather than do a separate tree our playroom, we chose to decorate my daughter’s teepee tent with colored lights and hang stockings in the window. Her lights are on a timer and come on when she gets home from school and go off when she goes to bed. This gave her a sense of ownership over decorating “her space” and allowed this mommy to be able to decorate the main tree in our home the way I liked.
With a little work, a lot of lights, and some great ribbon, having a tree that looks like a professional tackled it IS within reach! Stay tuned to Hazelstyles.com for more holiday decorating tips and ideas! Now, get out there and style that tree!


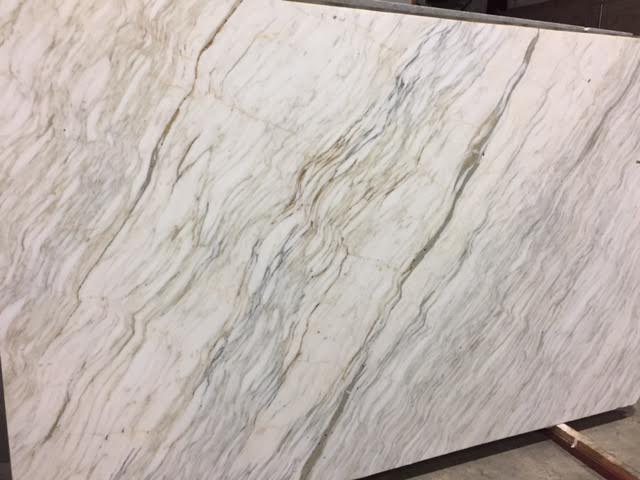
 While the kitchen is still a work in progress, and these are not true “after” pictures yet (cabinets are still a work in progress…doors are off being refinished, so don’t mind the mess that would normally be behind closed doors…ha!), here’s a sneak peek of the new counters installed… Stay tuned to the progress and our journey to an updated kitchen!


 h garland…

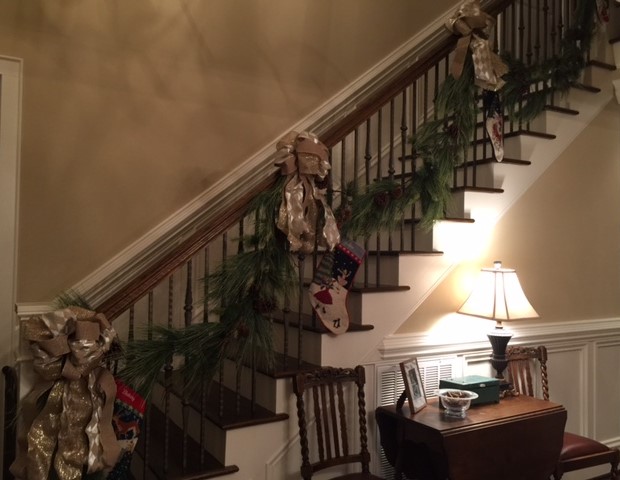
 draped across most of your railings (and now maybe your drapery rods too!), a good trick is to use wreaths indoors to change it up a little. For example, I love to use grapevine wreaths with big bows on the catwalk railing in our living room. This catwalk overlooks our living room where our Christmas tree is and there is already so much greenery in this space. The grapevine wreaths are in keeping with all the natural elements in my living room, but are a little different from the traditional green Christmas wreath and from the greenery everywhere else.